Section 12-03B: Compressor and Clutch | 1994 Mustang Workshop Manual |
The refrigerant system must be discharged and the A/C compressor (19703)
must be removed from the vehicle prior to replacing the
A/C compressor shaft seal. Refer to Section 12-03A.
| Description | Tool Number |
|---|---|
| O-Ring Remover | T71P-19703-C |
| Snap Ring Remover | T89P-19623-DH |
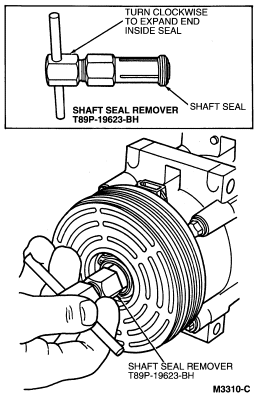
| Shaft Seal Remover | T89P-19623-BH |
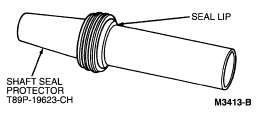
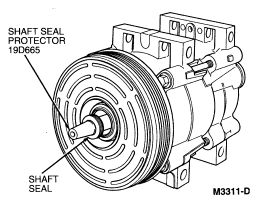
| Shaft Seal Protector | T89P-19623-CH |
| Shaft Seal Installer | T89P-19623-AH |
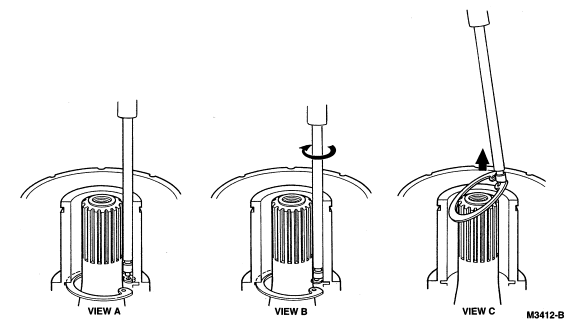
Removal
Installation
 CAUTION: Do not use protector if it is damaged. Obtain another shaft seal kit
and use protector from it.
CAUTION: Do not use protector if it is damaged. Obtain another shaft seal kit
and use protector from it.
CAUTION: Do not allow any dirt or foreign materials to enter the A/C compressor.