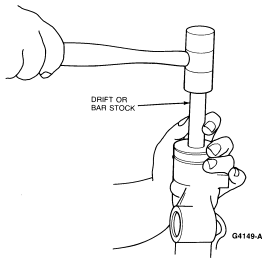
CAUTION: Do not hammer on the rack, aluminum rack bushing or housing. Damage
may occur.
CAUTION: Do not hammer on the rack, aluminum rack bushing or housing. Damage
may occur.
Section 11-02: Steering System, Power | 1993 Mustang Workshop Manual |
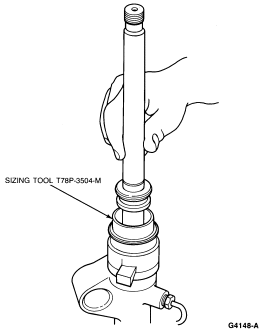
Tools Required:
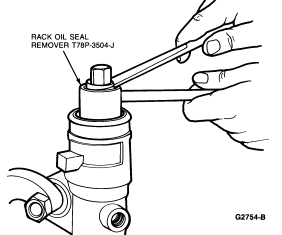
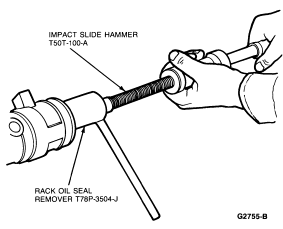
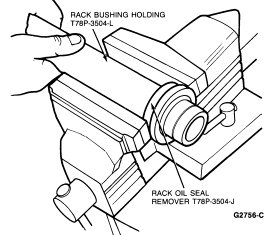
Disassembly
CAUTION: Do not hammer on the rack, aluminum rack bushing or housing. Damage
may occur.
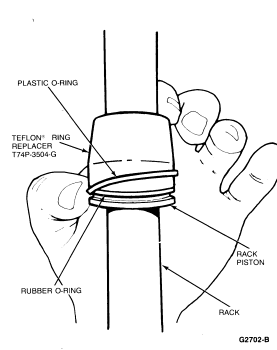
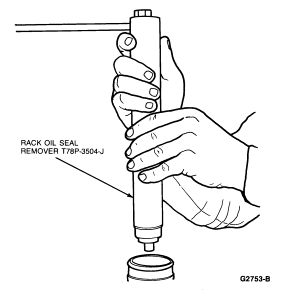
NOTE: On the first attempt, the nylon ring may pull out of the seal, leaving the seal in the gear. Repeat the procedure, and the seal will come out.
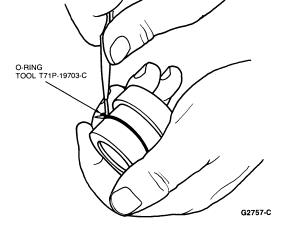
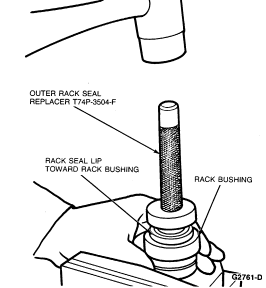
Assembly