Section 11-02: Steering System, Power | 1993 Mustang Workshop Manual |
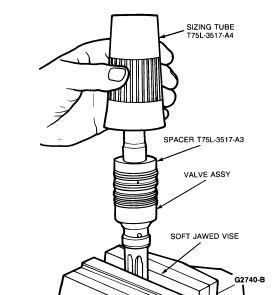
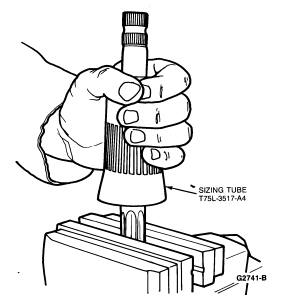
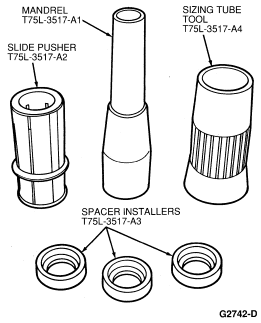
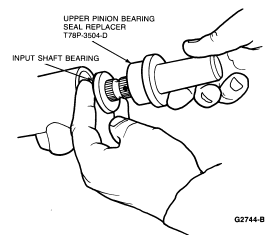
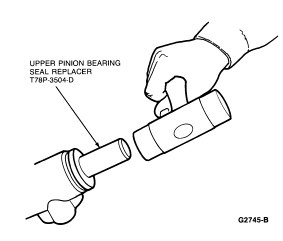
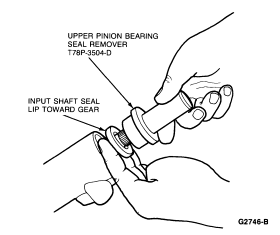
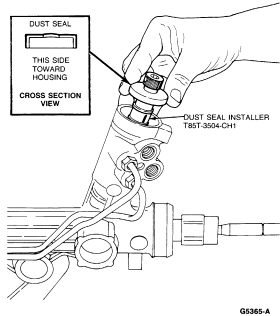
Tools Required:
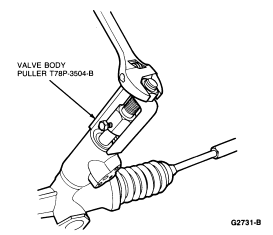
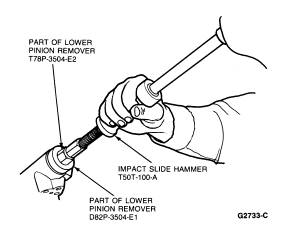
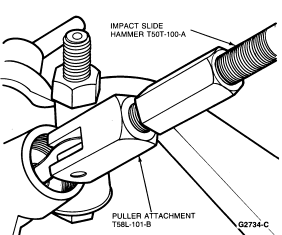
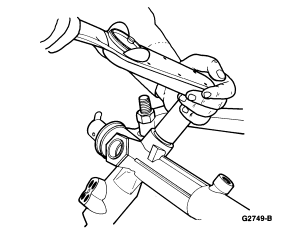
Disassembly
 CAUTION: Do not allow rack to reach full travel when loosening or tightening
the locknut as damage to rack teeth may result.
CAUTION: Do not allow rack to reach full travel when loosening or tightening
the locknut as damage to rack teeth may result.

CAUTION: Use care not to damage any of the valve housing surfaces.
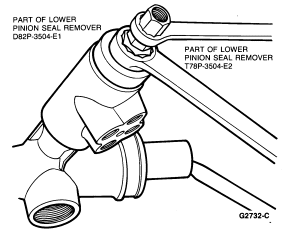
CAUTION: Use care not to scratch the valve sleeve as it may leak internally.
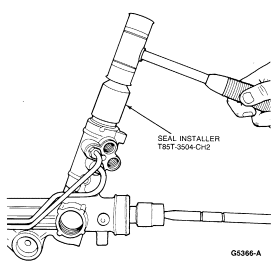
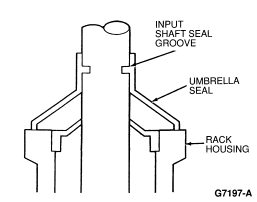
Assembly

NOTE: If only the valve was serviced and the rack was not moved while the valve was out, Step 9 may be omitted.
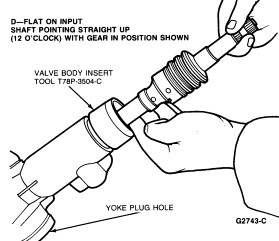

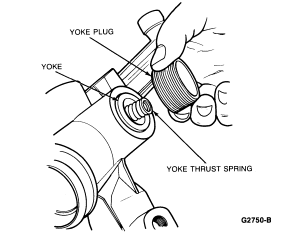
NOTE: Yoke must seat against the rack with finger pressure. If yoke hangs up, check for burrs in yoke housing.