Section 05-02A: Axle, Integral Carrier—7.5 Inch Ring Gear | 1993 Mustang Workshop Manual |
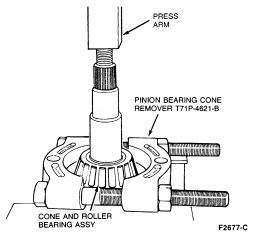
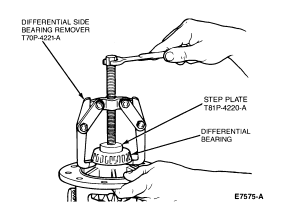
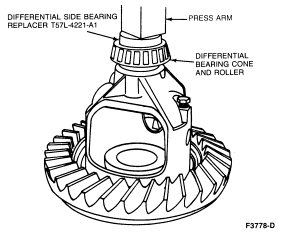
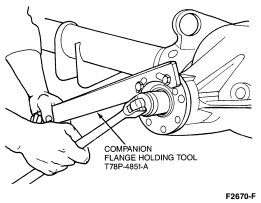
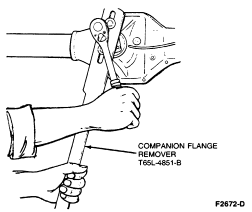
Tools Required:
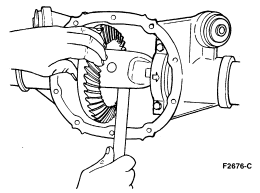
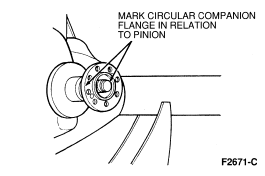
Removal
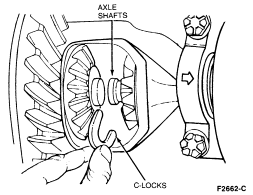
 CAUTION: Care should be taken not to damage wheel seals when removing axle
shafts from axle housing. In addition, axle shafts should be completely removed
from axle housing.
CAUTION: Care should be taken not to damage wheel seals when removing axle
shafts from axle housing. In addition, axle shafts should be completely removed
from axle housing.

CAUTION: Bearing caps must be installed in their original positions.
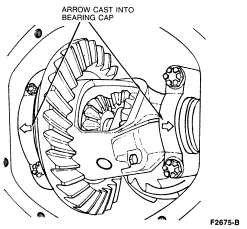
Note direction of arrows on bearing caps. When reassembled, the arrows must be pointing in the same direction as before removal.
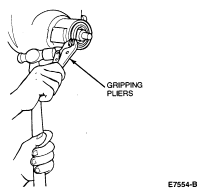
CAUTION: Never use a hammer to remove the companion flange.
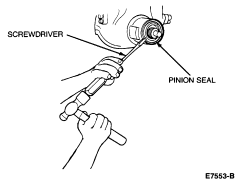
CAUTION: Do not damage housing while removing seal.