Section 01-11: Glass, Frames and Mechanisms
1993 Mustang Workshop Manual
REMOVAL AND INSTALLATION

Windshield—Urethane Seal

Tools Required:


Convertible


Glass Removal, Adhesive Cutter Method

  1. Remove windshield wiper arms and blades.
  1. Remove all mouldings, glass stops and retainers.
  1. Remove windshield rear view mirror.
    1. Loosen mirror mounting bracket setscrew.
    1. Pull mirror assembly upward to remove from windshield retainer.
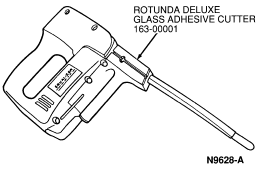
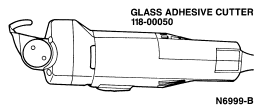
  1. Using Rotunda Glass Adhesive Cutter 118-00050 or Rotunda Deluxe Glass Adhesive Cutter 163-00001 or equivalent. Follow manufacturer's instructions, cut seal and dam around entire outer edge of glass.

     WARNING: SAFETY GLASSES AND GLOVES MUST BE WORN.


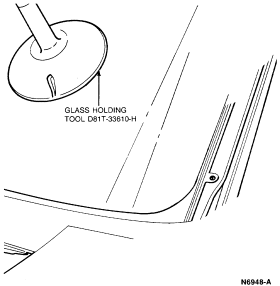
  1. Remove glass from vehicle using Glass Holding Tool D81T-33610-H or equivalent.


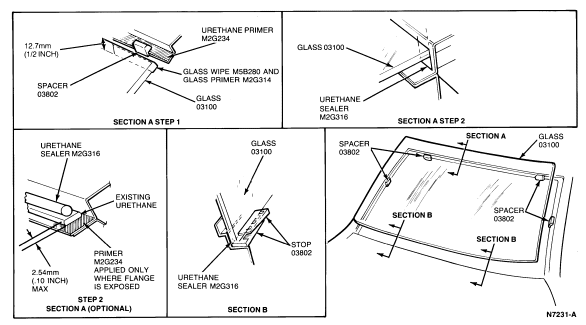
  1. Trim urethane left on flange with a utility knife or razor blade until surface is smooth and free of cuts. It is not necessary to remove all urethane from the flange if it is cured. However, at no point should existing urethane material exceed 2.54mm (0.10 inch).

    NOTE: If urethane has not cured completely, remove all uncured urethane using care not to smear urethane on component parts, crash pad and vinyl roof.

  1. Check flange sealing area for damaged sheet metal or foreign objects which may have caused, or may cause, glass breakage. Service sheet metal if necessary.
 

Installation

  1. If existing urethane on metal flange has become contaminated, cut away contaminated urethane with a utility knife or razor blade.
  1. If painted sheet metal has been exposed anywhere along the flange, apply Urethane Metal Primer WSB-M2G234-C or equivalent over the painted surface using a clean brush.

    NOTE: A minimum of 30 minutes is required for primer surface to dry.

  1. Place the glass on a low, stable work surface, inside up.
  1. Clean glass and install rear view mirror mounting bracket. Refer to Section 01-09.

    NOTE: Wipe off immediately after application because it flash dries.

  1. Using a lintless cloth, wipe outer 12.7mm (1/2 inch) of inside glass periphery with Urethane Glass Wipe WSB-M5B280-C or equivalent.

     CAUTION: Allow all glass parts installed with urethane 24 hours to cure.

  1. Thoroughly shake and stir Urethane Glass Primer WSB-M2G314-B or equivalent to ensure uniform pigment mixing.
  1. Using a clean brush, apply primer around entire periphery of glass on inside surface, 12.7mm (1/2 inch) in from glass edge. (Allow at least 5 minutes drying time.)
  1. Check spacers at top and sides of window opening. Replace if necessary.
  1. Properly align glass to body.
    1. Make sure lower glass spacers are in place at bottom of glass opening.
    1. Place glass into opening. Center it top and bottom, side-to-side, with about equal clearance around opening.
    1. Using masking tape or crayon, make alignment marks at points on both the glass and the window opening.
  1. Remove glass from vehicle and place back on work table.
  1. Apply an even bead of Urethane ESB-M2G316-A or equivalent on top of existing urethane around entire window opening using an air pressure cartridge gun. Air line pressure should be around 276 kPa (40 psi). The bead should be large enough to seal the windshield but not cause expulsion into vehicle.
  1. Install glass assembly onto vehicle, taking care to align marks on glass to those on body. This must be done within 10 minutes of applying urethane.
  1. Install moulding retainers, mouldings and windshield wiper arms and blades.
  1. Install rear view mirror to bracket.

     CAUTION: Use only urethane for after seal to service air and water leaks in urethane seal.

     CAUTION: Allow all glass parts installed with urethane 24 hours to cure.