Section 01-00: Body—Service
1993 Mustang Workshop Manual
REPAIR

Procedure 2—Substrate Holes, Gouges and Tears (Substrate Material Removed)

Tools Required:

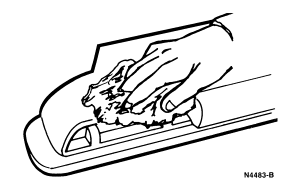
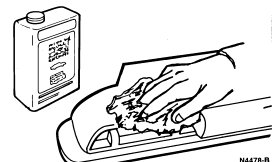
  1. Wipe damaged area with silicone and wax remover to ensure clean surfaces.


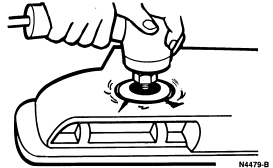
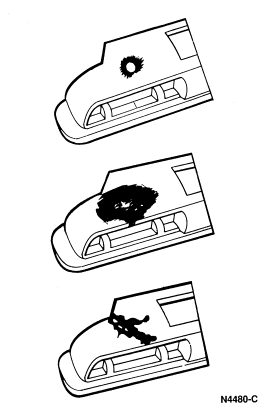
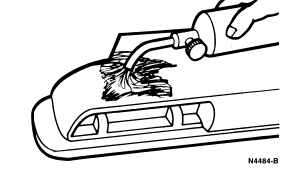
  1. Using a grinder such as Rotunda Dual Action Air Sander 107-01619 or equivalent, or a sanding block with No. 36 Disc or Coarse Abrasive Paper, grind or abrade away sufficient substrate material around the damaged area to maximize adhesion of repair material. After initial grinding, the three basic types of repair should look as shown.


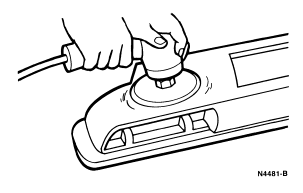
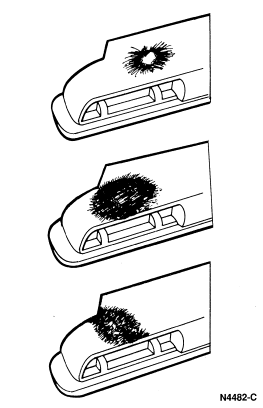
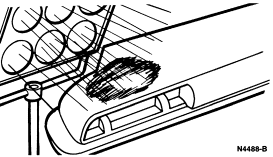
  1. Featheredge the paint around the repair area. After featheredging, the three basic types of repair should look as shown.


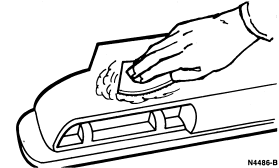
  1. Wipe off or clean the repair area with a clean dry cloth or an air gun.


  1. Flame-treat the exposed substrate repair area to improve adhesion. A propane torch with a 25.4mm (1 inch) long blue flame kept moving over the surface until the exposed substrate is a light brown color is sufficient. Minimum paint damage will result if the flame is kept moving.


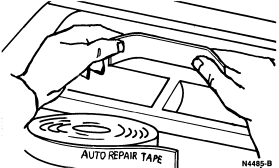
  1. Wipe the underside of the repair area with silicone and wax remover and apply Auto Body Repair Tape (3M® No. 6930) or equivalent to underside of repair area to backup patch material.


  1. Using the 3M® Structural Adhesive Tube Kit Part No. 8101 or equivalent, mix the filler material. Carefully follow the instructions on the tubes and the kit container to ensure correct mixing and application of the patch material.

    NOTE: To prevent air bubbles during mixing, the components should be scraped together with downward pressure and spread thinly on the mixing board. Adhesive should be used within two minutes after mixing. Observe safety precautions when handling adhesive.
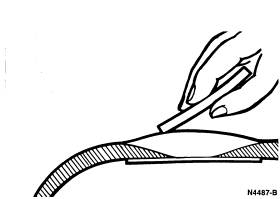
  1. Apply mixed adhesive to area with a squeegee in two steps:


    1. Apply a light coat over entire area and allow to dry.
    1. Mix and apply second coat if required to restore the contour.
  1. In restoring the contour, spread from edges toward center, filling all low areas. If voids, bubbles or low areas occur, mix more adhesive and apply to repair.


  1. Heat lamps or guns may be used to speed drying. However, as excessive heat may damage the substrate, do not use lamps closer than 1-1.5m (4-5 ft) to repair area or heat guns at 88°-98°C (190°-210°F) for longer than 20 minutes. An inexpensive cooking thermometer can be used.


    NOTE: The adhesive can be sanded after the 20 minutes heat (lamp or gun) cure, or after one hour at room temperature 22°C (72°F).
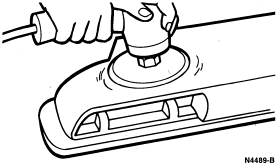
  1. Grind or block sand down to correct contour. Grind with a No. 240 Disc followed by a No. 320 Paper followed by No. 400 Wet or Dry.


    NOTE: Sanding in two directions tends to lift edges and spoil the service.
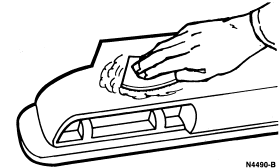
  1. Examine the finish sanded repair and fill any bubbles, holes or low spots with additional adhesive.


    NOTE: Spot or glazing putty cannot be used for elastomeric (soft) grille opening panel repair.
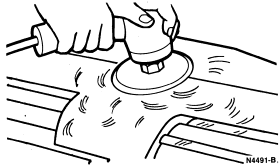
  1. The entire panel surface must be scuff sanded (orbital-type disc or block) with No. 320 Disc or paper.


  1. Clean repair area by blowing off with an air gun.


  1. Wipe the entire area to be painted with a clean dry cloth or tack cloth to ensure cleanliness.
  1. Apply two or more prime paint coats thinned in accordance with the directions on the paint can. Allow 30 minutes drying time. Finish painting the primed repair area in accordance with procedure for minor cuts and cracks.